Composting is one of the gentlest, most satisfying ways to close the loop on food and garden waste. Whether you want a tidy countertop caddy, a worm-powered vermicomposter in your balcony, or a heavy-duty tumbling bin for the backyard, there’s a compost system built for your space and lifestyle. Below you’ll find a human-first, practical guide to the best compost bins, a side-by-side comparison table, buying tips, and simple how-to advice so you can start turning scraps into black-gold soil.
Table of Contents
Comparison — at a glance
| Model / Style | Type | Typical capacity | Best for | What makes it stand out |
| OXO Good Grips countertop caddy | Indoor countertop | ~1–3 L | Kitchen scraps, small households | Smooth interior, odor-control lid, easy to clean. |
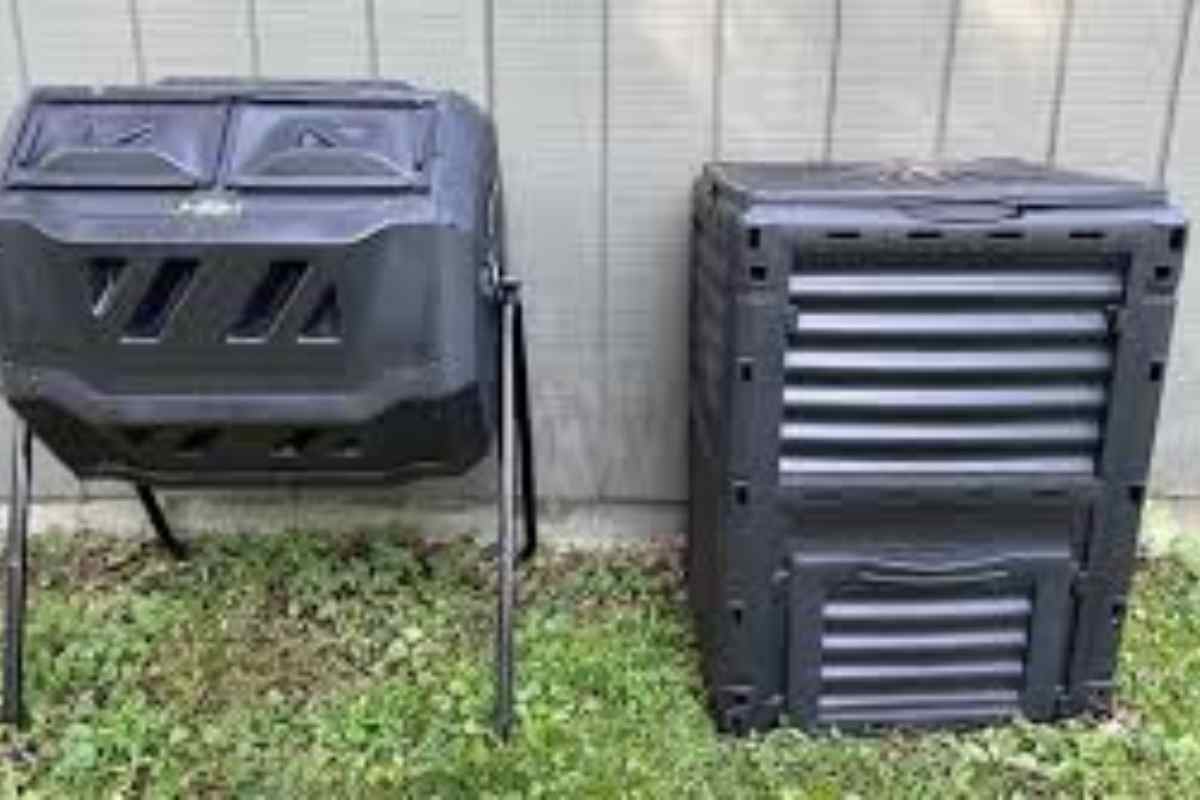
| FCMP Dual-Chamber IM4000 | Outdoor tumbling | ~37 gal (5 cu ft) | Backyard families, mixed yard + kitchen waste | Dual chamber for continuous composting; easy rotate and harvest. |
| Worm Factory 360 | Vermicompost stack | Expandable (many liters) | Apartments, balconies, gardeners who want worm castings | Stackable trays, good drainage/ventilation for worms. |
| VIVOSUN Tumbling Composter | Outdoor tumbler | ~30–40 gal | Easy-turn aeration, moderate yards | Durable build, raised off ground, easy rotation. |
| HOTBIN / Hot composters | Insulated stationary | 100–200 L (varies) | Rapid hot composting, winter use | Holds heat for faster breakdown; can kill seeds/pathogens. |
| Stationary plastic bin (converter) | Stationary bin | Varies (50–500 L) | Budget gardeners | Cheap, simple — good for slow, low-maintenance composting. |
| Electric/home “food recycler” (e.g., Reencle, Lomi, Vego) | Electric / active | 10–22 L (kitchen capacity) | Urban kitchens, odor-sensitive users | Fast processing (hours–days), uses heat/air/filters; pricier. |
(Capacity numbers are typical ranges; check the specific model specs before buying.)
What kind of compost bin is right for you? (short checklist)
- Apartment/kitchen only: countertop caddy or an indoor vermicompost (worm bin).
- Balcony/small outdoor area: worm bin or small tumbler.
- Backyard with yard waste: tumbler (fast) or large stationary bin (cheap).
- Want finished compost fast: hot composter (insulated) or electric composter.
- Don’t want to touch/turn much: stationary “converter” bin (low maintenance).
The best types, how they work, and who they suit
Countertop caddies (kitchen compost bins)
Countertop compost bins are a user-friendly first step. They collect daily food scraps (peels, coffee grounds, small leftovers) and keep smells sealed until you empty them into a larger outdoor bin or a municipal organics container.
Why people love them
- Low barrier to entry — keeps composting visible and convenient.
- Small and attractive designs make them fit with kitchen décor.
- Most have carbon filters or tight lids for odor control.
Recommended use & tip
Use a small caddy (1–3 L) for daily scraps; line it with compostable bags or keep it dry by adding a sprinkle of shredded paper or dry leaves if things get wet.
Model note: The OXO Good Grips countertop caddy is often recommended for its easy-clean interior and odor-control design.
Tumbling composters (rotating barrels)
Tumblers are sealed barrels that rotate to mix materials, aerate the pile and speed up decomposition. They’re great when you want quicker results than a stationary pile but don’t want to turn a heap with a pitchfork.
Pros
- Faster than stationary bins because turning is easy and frequent.
- Cleaner — animals have less access than to open piles.
- Minimal manual mixing.
Cons
- Smaller capacity relative to the space they take; not ideal for large amounts of bulky yard waste.
- Can dry out faster — need to manage moisture.
Model note: The FCMP Outdoor dual-chamber tumbling composter is a widely tested favorite for home use because the two chambers let you fill one while the other finishes composting. Reviewers praise its ease of use and steady output.
Vermicomposters (worm bins)
Vermicomposting uses red wigglers or similar composting worms to convert kitchen scraps into nutrient-dense worm castings. These systems are space-efficient and excellent for apartment gardeners.
Pros
- Produces high-quality compost (worm castings).
- Compact and suitable for indoors or balconies.
- Low odor when done right.
Cons
- Requires a bit of care (food balance, temperature, moisture).
- Not ideal for large woody yard waste.
Model note: The Worm Factory 360 (stackable tray system) is popular among beginners because it’s expandable and designed for easy harvesting of castings.
Stationary bins & converters
These are the classic simple plastic or wooden bins placed on soil. They’re workhorse solutions for gardeners who want a large capacity and low-tech approach.
Pros
- Cost-effective for large volumes.
- Low maintenance — just add waste and wait, occasional turning helps.
Cons
- Slower breakdown; can be pest-prone if not managed.
- Often bulky and less tidy than tumblers.
Good for: People who generate a lot of yard trimmings and want to slowly build soil without gadgets. BBC Gardeners’ World and other testers often recommend simple converters (cone-shaped) as reliable budget picks.
Hot composters & rapid systems
Insulated “hot” composters or commercial-style bins hold heat to rapidly break down material and reduce pathogens and weed seeds.
Pros
- Fast (weeks instead of months under the right conditions).
- Kills seeds and pathogens when kept hot enough.
Cons
- Need correct nitrogen/carbon balance, moisture, and regular turning for best results.
- Typically more expensive than simple bins.
Model note: The HOTBIN and other insulated models are designed specifically to retain heat and speed decomposition for gardeners who want a quicker turnaround.
Electric / countertop food recyclers.
Newer electric machines (Lomi, Reencle, Vego, and others) speed up the process using heat, agitation, and filters to convert food scraps to a soil conditioner in hours to days.
Pros
- Fast and low-effort; minimal smell if properly filtered.
- Great for urban kitchens with no outdoor space.
Cons
- Higher upfront cost and electricity use.
- Resulting material is sometimes dryer and needs mixing with soil or yard waste.
Testing note: Recent product tests and reviews (2024–2025) find electric home composters useful for apartment dwellers, but they’re pricier than passive bins.
How to choose — features that matter
| Feature | Why it matters |
| Capacity | Match bin size to how much food/yard waste you produce — too small means extra work, too big can be unwieldy. |
| Aeration / turning | Good airflow speeds decomposition and reduces odor; tumblers make turning easy. |
| Predator resistance | If animals are a concern, choose sealed designs or tumblers elevated off the ground. |
| Insulation | Insulated or thick-walled bins keep heat for winter/hot composting. |
| Drainage | Prevents soggy, smelly compost — important for indoor and worm bins. |
| Ease of harvest | Doors, hatches, or stackable trays make removing finished compost painless. |
| Material & durability | UV-resistant plastic or galvanized steel will outlast cheap thin plastics. |
| Odor control | Carbon filters, tight lids, and proper mix (brown/green) help prevent smells. |
Practical how to— get from kitchen scrap to ready compost
- Balance greens and browns — aim for roughly 2:1 to 3:1 carbon (browns like shredded paper, dry leaves) to nitrogen (greens like kitchen scraps, grass clippings).
- Chop larger items — smaller pieces decompose faster.
- Keep it moist, not soggy — moisture similar to a wrung-out sponge.
- Aerate regularly — tumble, turn with a fork, or use worms for aeration.
- Temperature check for hot compost — 55–65°C indicates active hot composting.
- Be patient — depending on method, finished compost can take weeks (hot/electric) to months (stationary).
Troubleshooting common problems
- Smelly bin: Usually too wet or too many greens. Add shredded paper/leaves, turn, and check drainage.
- Fruit flies: Keep food buried under a dry brown layer; use a lid or mesh.
- Slow breakdown: Materials too big or too dry/cold. Chop, moisten, and add nitrogen (greens).
- Worms dying in worm bin: Check temperature (keep cool), moisture, and avoid citrus/very salty foods.
Quick care guide by bin type (mini table)
| Bin Type | Weekly tasks | When to harvest |
| Countertop caddy | Empty into larger bin; rinse if sticky | N/A (serves as transfer) |
| Tumbler | Rotate 2–3 times/week | When one chamber looks dark and crumbly (4–12 weeks) |
| Worm bin | Feed small amounts, check moisture | Bottom tray castings ready every few months |
| Stationary bin | Turn monthly | When pile is dark and crumbly (6–12 months) |
| Hot composter | Monitor temp; turn as instructed | Weeks to months depending on regime |
| Electric composter | Empty and clean per manual | Output every cycle (hours–days) |
Final words — composting as a habit, not a project
Composting is less about perfection and more about momentum. Start small: get a countertop caddy, collect scraps, try a worm bin or a cheap converter, and learn the rhythm of your kitchen and garden. Over time, you’ll discover what “works” for your home, and you’ll be rewarded with nutrient-rich compost, less trash, and the quiet satisfaction of turning leftovers into life.